I was poking around GitHub a while back and in the Firefox repo, I saw badge that led me to codecov. This is an awesome little tool for generating code coverage reports. It’s simple to use and integrates well with GitHub and Travis CI. In this article, we’ll go over the most common capabilities that you’ll probably end up using, and we’ll see how to set it up for your project.
Intro
We all write unit tests (hopefully) and we would like to know which lines of code are covered by those tests. This will usually point out some edge cases that we failed to cover with the tests, so we can refine the tests and make the app more robust. We already have a basic code coverage report tool integrated with Xcode, but it’s a bit limited in functionality. codecov is much more powerful and it has one feature I really like, automatic coverage report comment for pull requests… Brilliant.
If you remember, I wrote an article on Travis CI that I wasn’t planning on writing. The reason I wrote it was to use Travis as a CI for codecov. These two play really well with GitHub, I have to say. It was a breeze setting it all up. Let’s go over the features and how to set it all up.
Xcode
codecov works by analysing code coverage data that’s generated by Xcode when you run your unit tests. This is disabled by default, so you’ll need to enable it. Select ‘Edit Scheme…’:
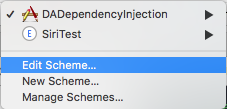
Select ‘Test’ and ‘Gather coverage data’ checkbox:

Commit this change to your GitHub repository and that’s it.
GitHub
Just like Travis CI, connecting codecov with your GitHub account couldn’t be easier. Go to GitHub marketplace, find codecov and follow the simple wizard to install it:
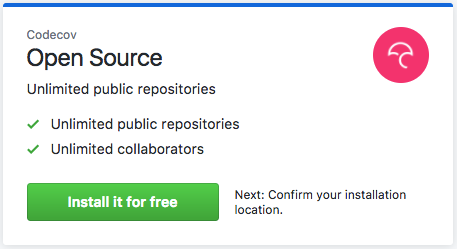
GitHub will ask you to authorise the app, go ahead and do it. After that, you will be taken to the codecov.io page.
Setup codecov
Once you land on codecov.io you’ll see a big pink button to add your repo:
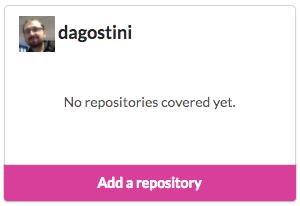
Select it and select your repo from the list:
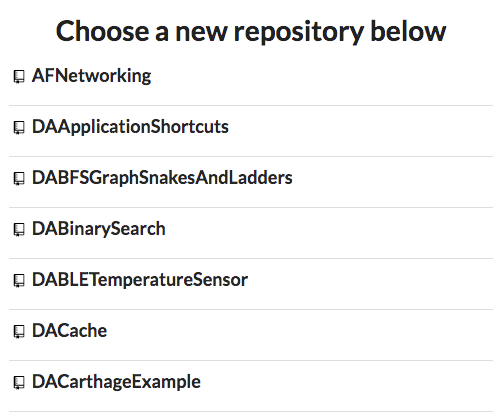
You’ll be taken to a page where you’ll see your generated token:
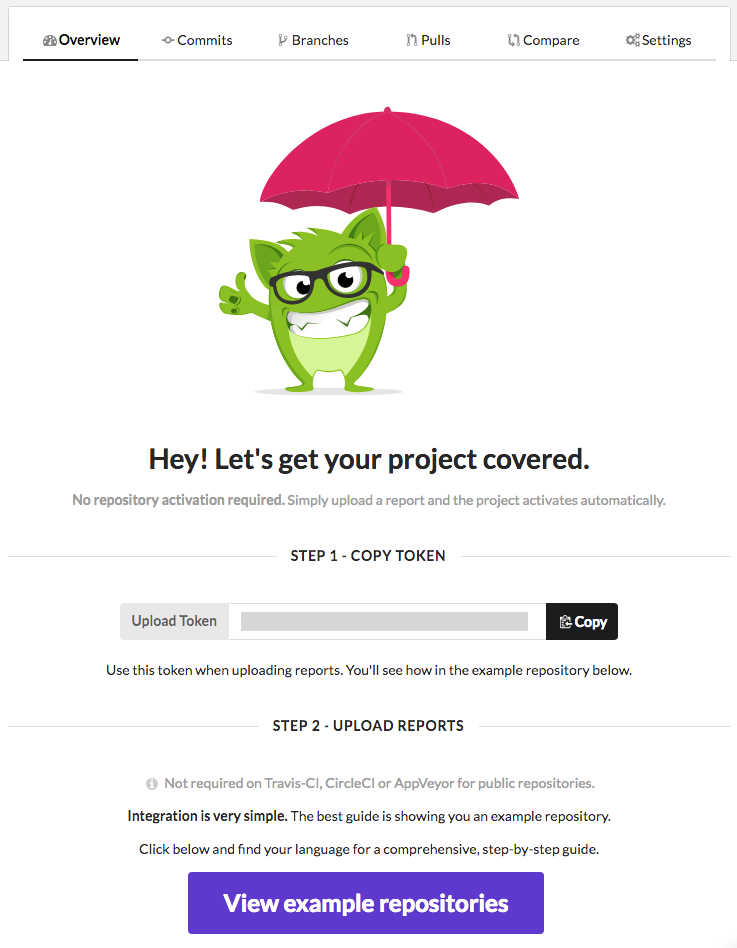
Funny enough, we don’t really care about this. Because codecov integrates well with Travis CI we’ll only add a simple command to our travis.yml file. So open your travis.yml file and add:
after_success:
    - bash <(curl -s https://codecov.io/bash)
Now every time your Travis build succeeds, your coverage files will be uploaded to codecov for analysis. Told you it was simple 🙂 Now let’s see how those reports look like.
Reports
Reporting is what this tool is really about, as soon as you open your codecov repo page you’ll see your coverage report at a glance:
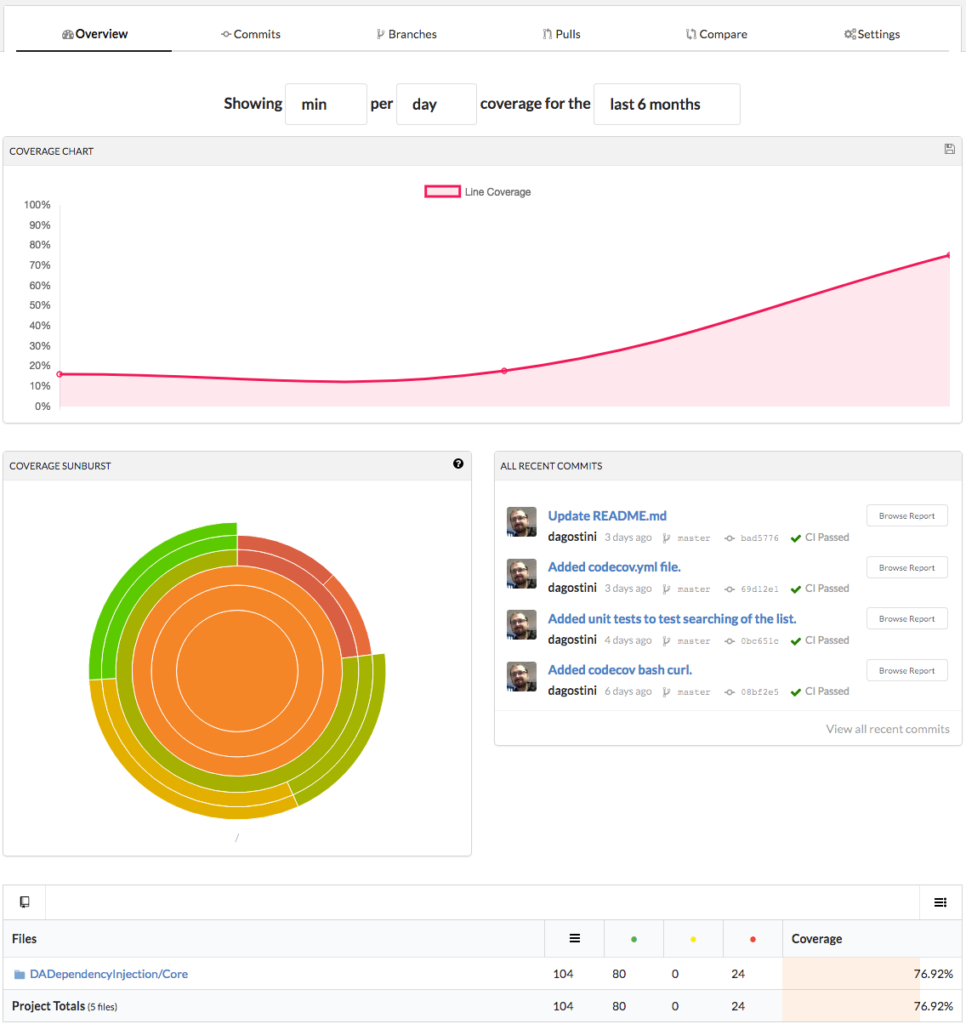
You can drill into the diagram or the folders. You can even check the coverage report for the latest commits. At the top, you can check the coverage for your commits, branches, pull requests… For example, if you select the Commits tab you can see something like this:
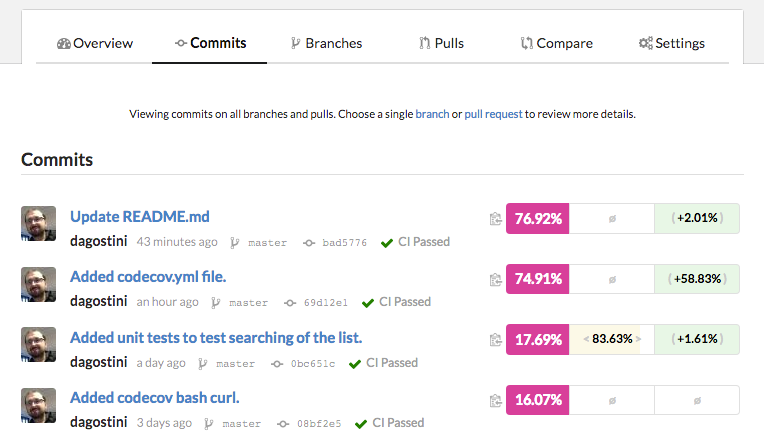
One thing I really like here are those percentages on the right. The pink percentage is the overall code coverage of the whole project, the yellow one in the middle is the code coverage of the commit and the green one is telling you if the current commit is increasing or decreasing the overall coverage.
You can drill into any of the commits and inspect the files and folders:
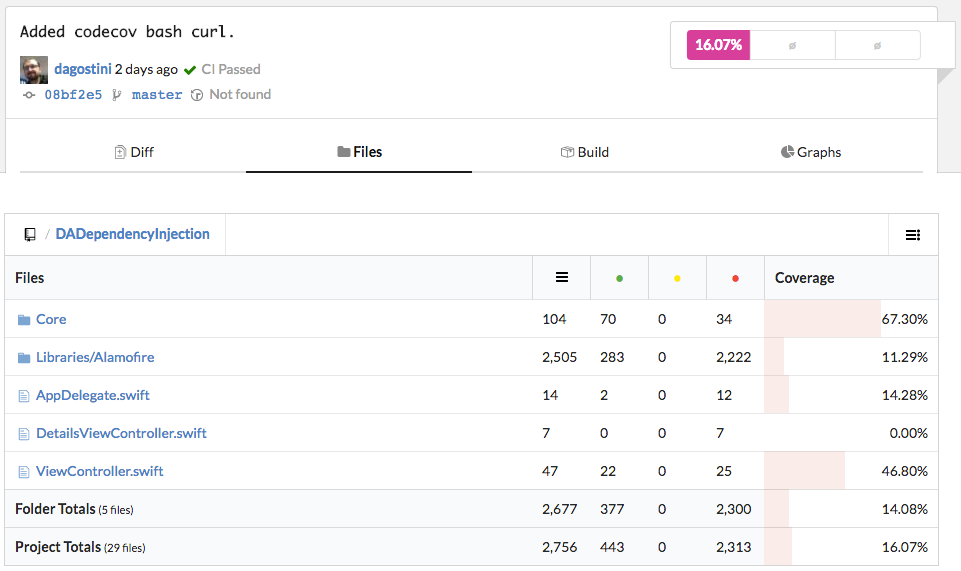
And if you open any file, you’ll see that the lines are highlighted as well:
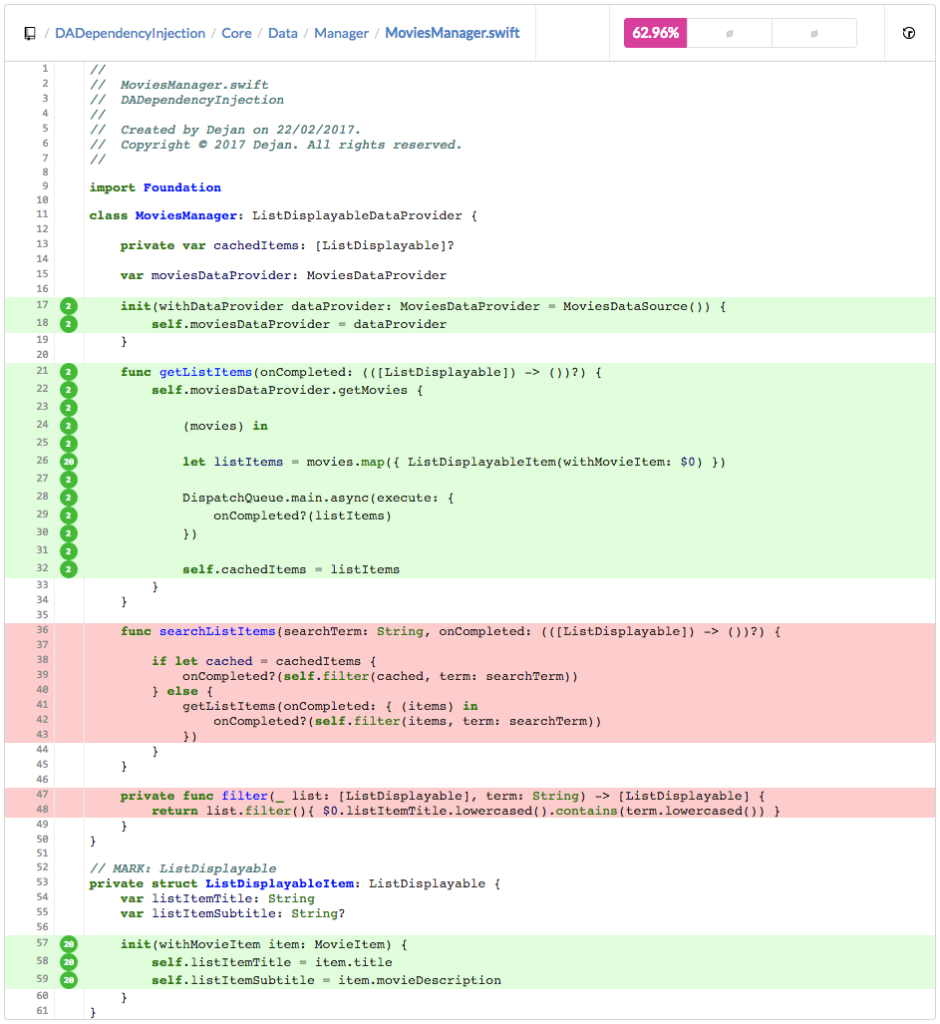
Here we can easily see which lines are not covered by our unit tests and we can write some tests to fix it. We won’t cover writing unit tests here and covering those lines, I’ll try and stay focused on codecov 🙂
GitHub Integration
You can actually install a browser extension that will allow you to view file coverage reports directly from GitHub:
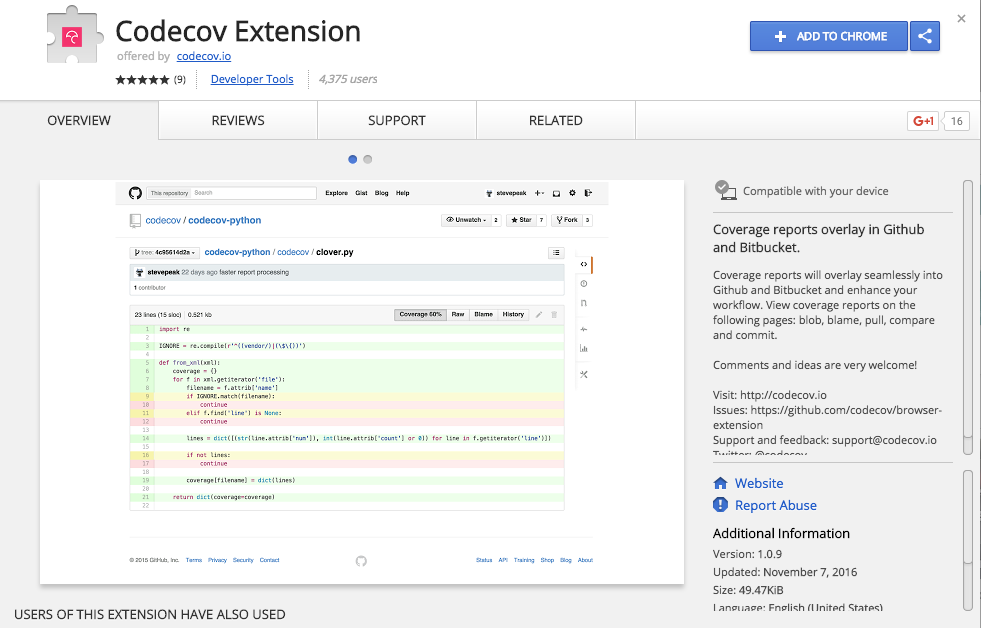
Once you install the extension, you can go and browse your files on GitHub and you will see a simple file report when you open a file:

It’s pretty much the same as the file report from codecov, but since you see it directly from GitHub it will alert you immediately if a piece of code is not covered by your tests.
One feature I really liked was the pull request comment that codecov automatically makes every time you create a pull request. As soon as you create your pull request, codecov will generate a mini code coverage report and post it as a comment to the pull request. This is a great way to see if the pull request is actually increasing the overall coverage of the project:
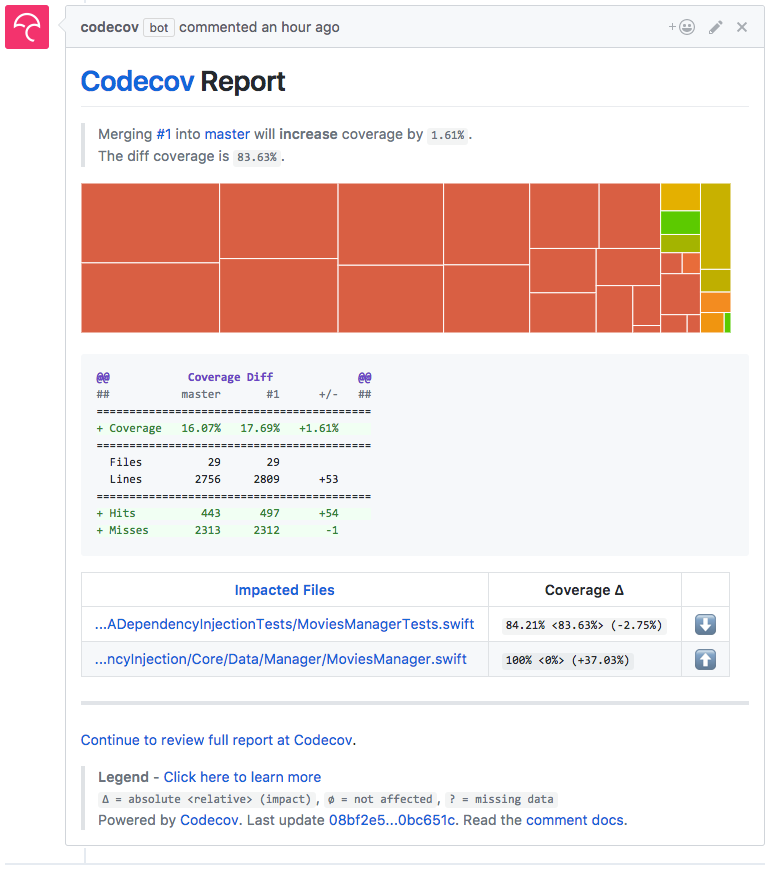
You can also see codecov on your pull requests as additional checks:
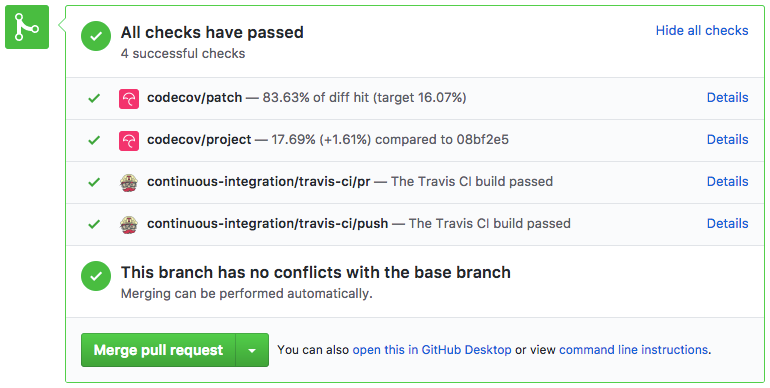
This is pretty awesome and it works automatically. You do your normal workflow, you open a pull request and you immediately see if you were a bad boy, I like it.
Additional Features
There are loads more features that you get with codecov, I’ll just cover two here. File exclusion and the badge.
File Exclusion
codecov is smart enough to exclude your resource files and interface files like .xib and storyboards. But you can do so much more. In the example project, I was using third party libraries that I wanted to exclude, I also wanted to exclude my view controllers and some other files.
You can set up all these exclusion rules in your codecov.yml file that you commit to the root of your repo, you can even use regular expressions. You can fine tune your codecov using this file. You can also create some general rules that will apply across the whole team. codecov will merge these rules with the ones it finds in the codecov.yml file. So in my file, I simply added my exclusion rules:
ignore:
    - "DADependencyInjection/AppDelegate.swift"
    - "DADependencyInjection/ViewController.swift"
    - "DADependencyInjection/Libraries/.*"
    - "DADependencyInjectionTests/.*"
    - "**/*ViewController.swift"
And now I can get a realistic report for my project.
The Badge
This is actually how I came across this nice little tool. I saw a badge in the Firefox repo and I got curious. If you want to show the world what your coverage is, or if you simply want to have it in your private repo just to show the info at a glance, it’s really easy to do that. If you go to your codecov repo, select settings, you’ll see a badge section:
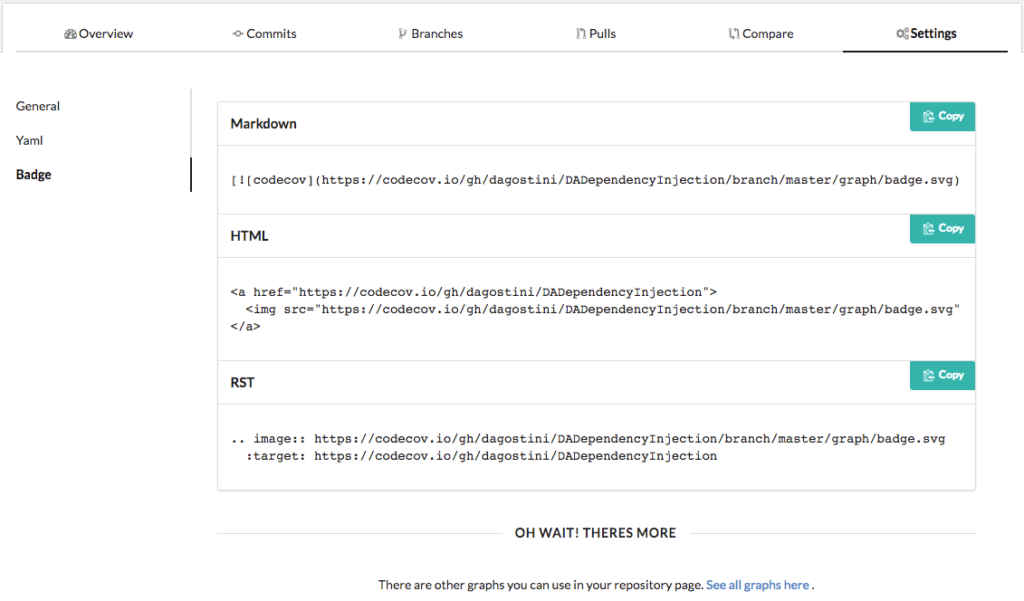
Copy the markdown into your readme.md file where you want to see the badge and commit your changes:
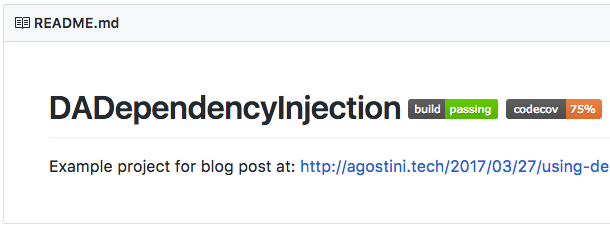
And there you go, now you can show the world that your code is covered and they have nothing to worry about 🙂
Conclusion
This is a great online tool for gathering your coverage report that works surprisingly well. I could write a whole paragraph here about how I liked it, but I’ll spare you the suffering 🙂 Go on and try it, it’s free for public repositories and it’s only 6$ per month for unlimited private repositories.
I hope you’ll find something useful in this article and that it helped you in some way. The repository I used in this article is DADependencyInjection, you can take a look at the .yml files in it if you’re interested.
Have a nice day 🙂
Dejan.

Hi,
Really liked this post and it helped me to setup codecov for my repositories, but the feature “codecov will generate a mini code coverage report and post it as a comment to the pull request”, I am getting it for a public repository of mine easily, but, not for a private one. Is there any specific procedure for private repositories?
Hi Rahul,
Sorry for not replying, I’m on a vacation so my access to internet is limited.
I honestly don’t know why it’s not working for you, if worked fine for my private repo. Maybe they changed that recently, or maybe you have comments turned off in your team yml file, Check out this link for reference:
https://docs.codecov.io/docs/pull-request-comments
Have a nice day 🙂
Dejan.
Thanks Dejan for your time, I’ll follow up on this.