Block and Identify Calls with Call Directory App Extension
Dejan Agostini

You probably received some unwanted phone calls on your iPhone and you wished you could automatically block these numbers. Or you were getting a call from someone that's not in your contacts, but you saw the name of the person on the incoming call screen. If you ever wondered how you can do that, the answer is call directory app extension. In this short article we'll see how you can block and identify calls with call directory app extension.
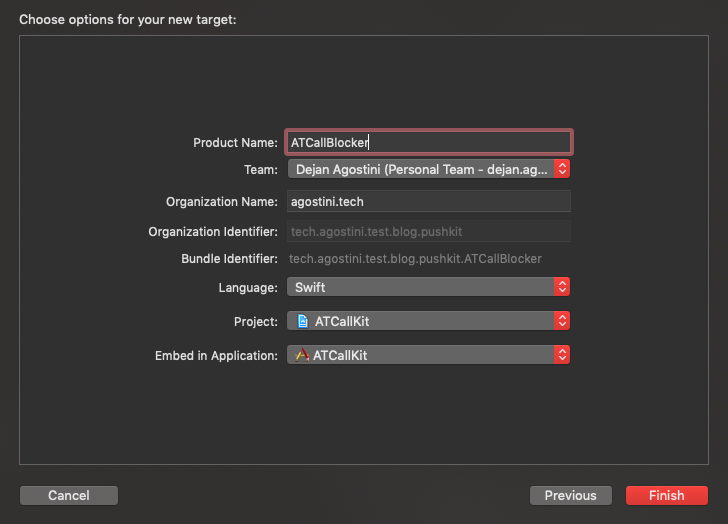
 Give it a nice name and make sure it's embedded in the proper app target:
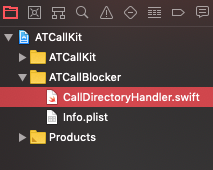
 You'll see the new class in your project navigator:
 Let's write some code...
Call Directory
Call Directory is a simple app extension that allows your app to supplement the system call directory. You an only do two things with the extension. You can block phone numbers and you can add labels to phone numbers. Those labels would then be displayed on the incoming call screen. The iOS system will use your extension as a fallback option. For example, if the incoming phone number is not in the contacts of the user, then the label provided by your extension will be displayed. The iOS system will always take precedence. One thing to note here is that the call directory extension does not allow you to intercept calls. This is a simple data source for the iOS system that will get queried periodically and nothing more. You should have all the data accessible to the extension (file on a disk, core data, etc...). The idea is that your app will download and update the data and the extension will only use that data to forward it to the system.Project Setup
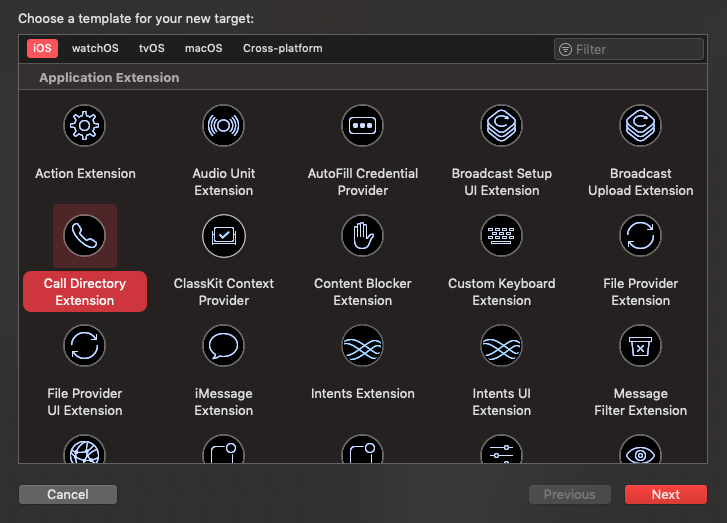
We're going to use ATCallKit app for this demo. We used it for demoing CallKit and it can simulate incoming calls, so it's perfect. Add a new target to your project and select the 'Call Directory Extension' from the list of templates:Give it a nice name and make sure it's embedded in the proper app target:
You'll see the new class in your project navigator:
Let's write some code...
The Code
The class that got generated for us has only one function and one delegate callback. There will be some utility functions in the generated template, but in reality, we only have one function to implement. The following code will block one number and add identification entry for another:class CallDirectoryHandler: CXCallDirectoryProvider {
override func beginRequest(with context: CXCallDirectoryExtensionContext) {
context.delegate = self
context.addBlockingEntry(withNextSequentialPhoneNumber: 353_1800_200_313)
context.addIdentificationEntry(withNextSequentialPhoneNumber: 353_1800_200_321, label: "Friendly Caller")
context.completeRequest()
}
}
That's really all there is to it. Just be careful about the number format, make sure you include the country code, or it might not work for you.
While you're testing your extension put this code somewhere (like AppDelegate):
CXCallDirectoryManager.sharedInstance.reloadExtension(withIdentifier: "tech.agostini.test.blog.pushkit.ATCallBlocker") { (error) in
    print("reloaded extension: \(error)")
}
iOS won't call your extension every time, so debugging it will be a pain if you don't manually reload the extension.
 You'll have to test the extension on a real device that has a sim card. After you run the app, go to settings and into 'Call Blocking & Identification' and give permissions to your app:
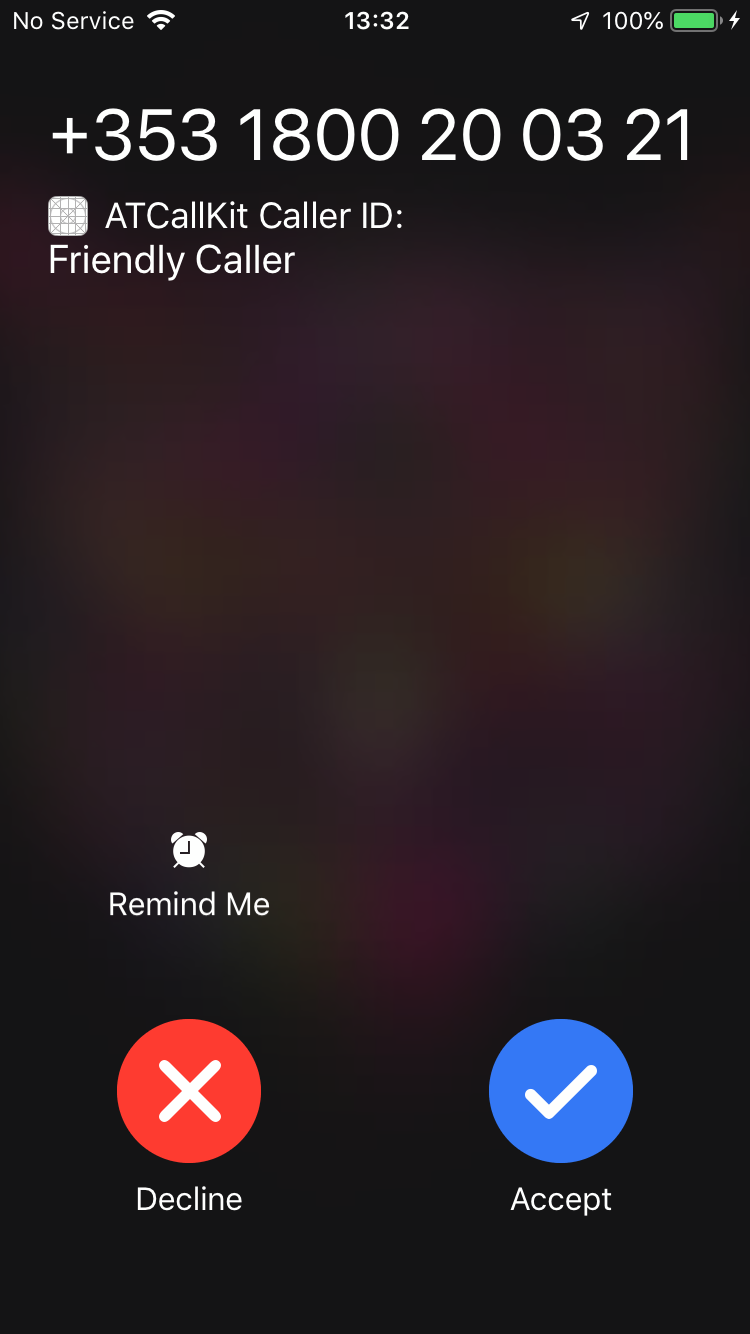
 Now you can go back to the main app and try it out. If you tap on the 'Receive' button it will try to dial a number that's blocked. If everything worked then absolutely nothing should happen :) If you tap on the 'Receive with delay' button, then you should see the caller info we added:
 That's pretty much it :)
Testing It
Select your extension, build and run, and when prompted, select your host app:
You'll have to test the extension on a real device that has a sim card. After you run the app, go to settings and into 'Call Blocking & Identification' and give permissions to your app:
Now you can go back to the main app and try it out. If you tap on the 'Receive' button it will try to dial a number that's blocked. If everything worked then absolutely nothing should happen :) If you tap on the 'Receive with delay' button, then you should see the caller info we added:
That's pretty much it :)