Introduction to Realm Database
Dejan Agostini
Realm is an alternative to Core Data on iOS and it's also cross-platform. In this blog post we'll setup Realm Database for our little demo project and we'll check out some basic features that you'll end up using.
Realm Database
Sooner or later you'll find yourself in a position where you'll have to persist data in your app. You have many options on iOS. The default one is Core Data, of course. The framework comes shipped with the SDK, and you can use it out of the box. Core Data is quite powerful, but it can be a bit overwhelming. People tried to manage this complexity by building wrapper frameworks around it, one of the more popular ones is MagicalRecord. Realm is not a wrapper around Core Data. It's a separate persistence framework, something like Firebase or Couchbase (I'm not saying it's similar to these two, I'm saying it's an alternative to Core Data like those two :) ). What sets Realm apart is its ease of use. Once you get used to the concept of 'Realms' the framework is really simple and it will actually simplify your code. In this article we'll go over setting up your project to use Realm Database, creating and using your models, observable collections and search results, and threading. With these couple of things you should be well on your way to using Realm in your projects.Project Setup
Realm is available on Cocoapods, so the simplest way to include it into your project is to use the pods:pod 'RealmSwift'
Once you run pod install you should be all set. I suggest you install the Realm Studio as well. It's a free tool that you can use to inspect your database. You will need to register to use the tool:
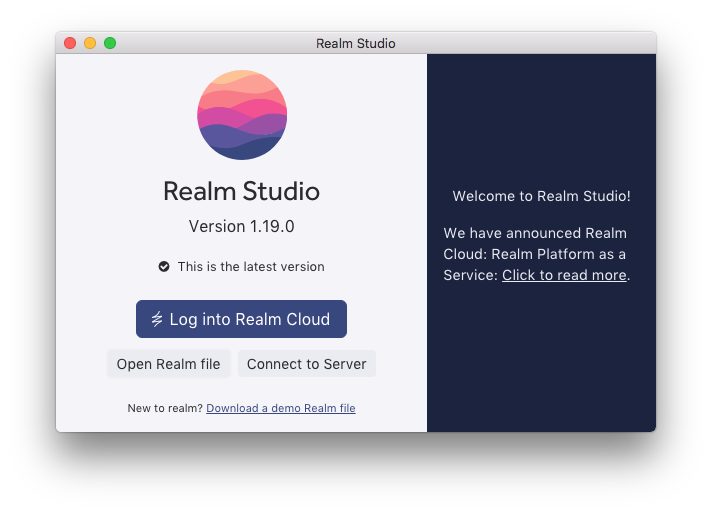
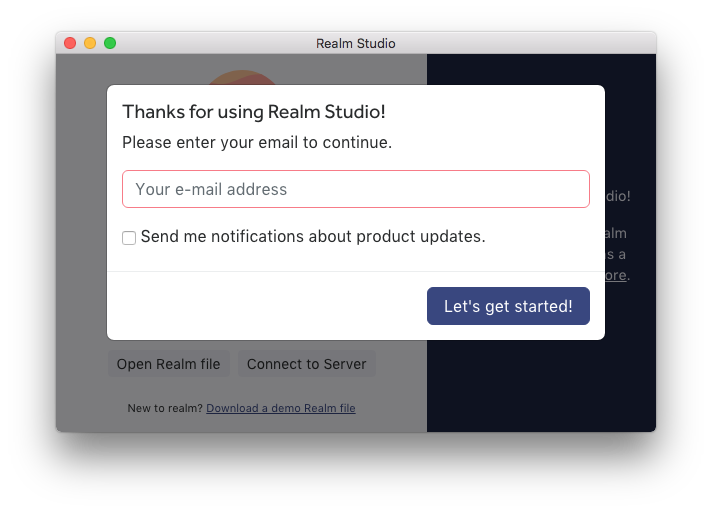 Once you're finished registering you'll be presented with a very simple interface:
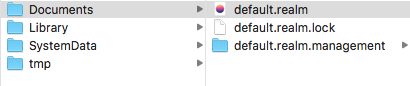
 Realm is saving its files in the applications documents directory. Your files might look something like this:
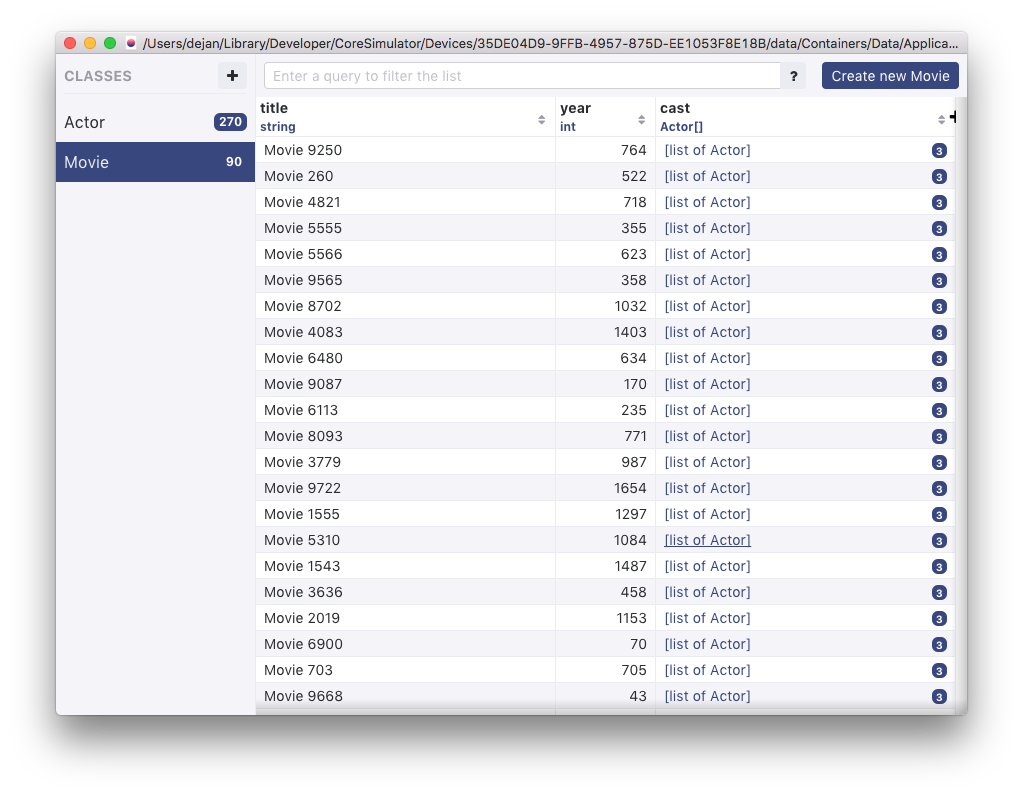
 If you open the .realm file you'll be able to browse the data:
 Now you should have everything you need to get started with Realm Database.
Once you're finished registering you'll be presented with a very simple interface:
Realm is saving its files in the applications documents directory. Your files might look something like this:
If you open the .realm file you'll be able to browse the data:
Now you should have everything you need to get started with Realm Database.
Realm
If you ever worked with Core Data, then you might find it useful if you think of a realm as a managed object context. If not, think of it as a live view of your data. You can create many realms, and they all connect to that one database file you have on your disk. Realm framework is managing all the reads and writes for you, so you don't have to worry about anything. When one realm changes the data, all the other realms will know about it. You can have as many realms as you want, and they can point to many different databases (one realm can only point to one database, of course). The only tricky part with realms is, they're thread confined. More on that later.Models
You define your realm models as normal swift classes which subclass 'Object' class. For example, you could have a model object like this:import Foundation
import RealmSwift
class Movie: Object {
@objc dynamic var title = ""
@objc dynamic var year = 1900
let cast = List<Actor>()
}
Your properties will have to be marked as @objc and dynamic. You will also have to initialise them with a default value. Realm is using the 'Object' initialiser to set itself up, so you can't have a designated initialiser. You can, however, have a convenience initialiser. If you wanted to set your object like that, just remember to call 'self.init()' and not 'super.init()' from your initialiser.
If you wanted to use collections, Realm provides you with their own collection types. In the example above, instead of using an array, we're using a typed list. Notice how we had to initialise it, and it's not '@objc dynamic'. Unlike Core Data, inverse relationships are not automatically generated. So, if you wanted your Actor to have a pointer back to the Movie, you'll have to create it yourself.
For the sake of completion, here's the 'Actor' model class:
import Foundation
import RealmSwift

class Actor: Object {
    @objc dynamic var name = ""
    @objc dynamic var dateOfBirth = Date()
}
If you wanted to, you could use these models as 'unmanaged' objects. Meaning, you can use them as normal model objects that don't get saved into your database.
Saving Data
Now that we have our object graph with two model objects, let's save some data. It's surprisingly easy to save data into your realm. You create your realm, call the write function on it, pass in a closure, and that's it:let realm = try! Realm()
try! realm.write {
let movie = self.getRandomMovie()
realm.add(movie)
}
In the closure, 'self.getRandomMovie()' will generate a random 'Movie' object, just for testing purposes. And calling 'realm.add(movie)' will actually save it into the database. One cool thing to note here is, all the other realms that are connected to the same database will get notified about this change.
Reading Data
You'll want to display your saved data somewhere, probably in a table. Great thing about Realm is that its objects and collections are observable. What this means is that you could fetch objects from your realm database using predicates, sort them, save them in a collection, and then get notified when the collection changes. This is a really powerful mechanism that allows you to decouple your design and it will make your app a lot simpler. Let's say you wanted to display a list of movies sorted by year, you would create a realm in your view controller, fetch objects from it, and register to observe it for changes... Something like this:let realm = try! Realm()
var token: NotificationToken?
var movies: Results<Movie>?
override func viewDidLoad() {
super.viewDidLoad()
movies = realm.objects(Movie.self).sorted(byKeyPath: "year", ascending: false)
token = movies?.observe({ (changes) in
switch changes {
case .initial(_):
self.tableView.reloadData()
case .update(_, let deletions, let insertions, let modifications):
self.tableView?.beginUpdates()
self.tableView?.insertRows(at: insertions.map({ IndexPath(row: $0, section: 0) }),
with: .automatic)
self.tableView?.deleteRows(at: deletions.map({ IndexPath(row: $0, section: 0)}),
with: .automatic)
self.tableView?.reloadRows(at: modifications.map({ IndexPath(row: $0, section: 0) }),
with: .automatic)
self.tableView?.endUpdates()
case .error(let error):
print("There has been an error: \(error)")
}
})
// Simulate dynamic updates
DispatchQueue.global().async {
self.moviesController.startGenerating()
}
}
In your table datasource you would use the 'movies' collection as any other collection. What's interesting to note here is the registration to observe the collection for changes. You created your original collection using some parameters (you could have used some predicates, sorted it, filtered...), every time that original collection is updated you will be notified. Every time someone adds an object that satisfies your predicates, for example, you will get notified.
You can create some really complex predicates and filters, and you won't have to do much more to make sure that the UI is always up to date. If you check the code above, you'll notice that we're saving a token. This is an important little detail. When you register your class to observe you will receive updates for as long as the token is in scope. In your deinit method you should invalidate the token:
deinit {
    token?.invalidate()
}
This is all the code you'll need to update your table. Your UI will update dynamically, something like this:
 If anyone creates a realm to the same file on disk, and adds, deletes or updates an object, your table will get updated. This is a really cool feature, and it works for objects as well. You can register to observe a single object, and receive updates every time it's updated.
If anyone creates a realm to the same file on disk, and adds, deletes or updates an object, your table will get updated. This is a really cool feature, and it works for objects as well. You can register to observe a single object, and receive updates every time it's updated.
Thread Confinement
There is one thing you will need to look out for when working with Realm, and that's passing objects between threads. Multithreading is never easy, and the way Realm deals with this complexity is quite simple, really. It will blow up if you try and pass objects between threads :) You just can't fetch an object from a realm created on one thread, and pass it to another thread. As soon as you access any property of that object, Realm will throw an exception. Realm calls this a 'thread confinement' model. In reality, this would be a serious limitation, but Realm offers a solution. When working with Realm objects, you don't pass around real objects, you pass thread safe references. Let' say you wanted to process a 'Movie' object from our example. You could pass it to a method that would use it on a background thread, like so:public func crashInBackground(_ movie: Movie) {
DispatchQueue.global().async {
print("Crashing with a movie: \(movie.title)")
}
}
As soon as you accessed any of the properties of your object, you would get an exception. The proper way to pass an object to another thread is to use 'ThreadSafeReference', for example:
public func processInBackground(_ movie: Movie) {
    let movieRef = ThreadSafeReference(to: movie)
    DispatchQueue.global().async {
        let realm = try! Realm()
        if let movie = realm.resolve(movieRef) {
            print("Processing movie with title: \(movie.title) in the background")
        } else {
            print("Movie cannot be resolved")
        }
    }
}
The method signature is the same, but we create a thread safe reference to the object, and when on the other thread, we use Realm to resolve the object and fetch it from the realm. Now we can use the object normally and not worry about crashing.
Thread confinement model is something you will have to get comfortable with. If you're used to passing your objects around regardless of the thread they're being created on (and you probably are), this is something you'll be tripping over. ThreadSafeReference is here to help you out and the guys in Realm did a great job making it as simple as possible to use.