Using Synced Realms
Dejan Agostini
Last week we talked about Realm Database and how to get started with it. This week we'll dive in a bit deeper in Realm. Realm has a nice feature called 'Synced Realms'. It's a database that's hosted in the cloud and in this article we'll see how to set it up and get passed some of the gotchas that might slow you down when you decide to implement it yourself.
 Sign-up is pretty straightforward. When you're finished with it, you'll need to create a new 'instance' (one instance can have many realms). So go ahead and click the big green button:
 Pick a nice name for your instance, there's nothing more you can do on this screen (the region selector has only one region at the time of writing this article):
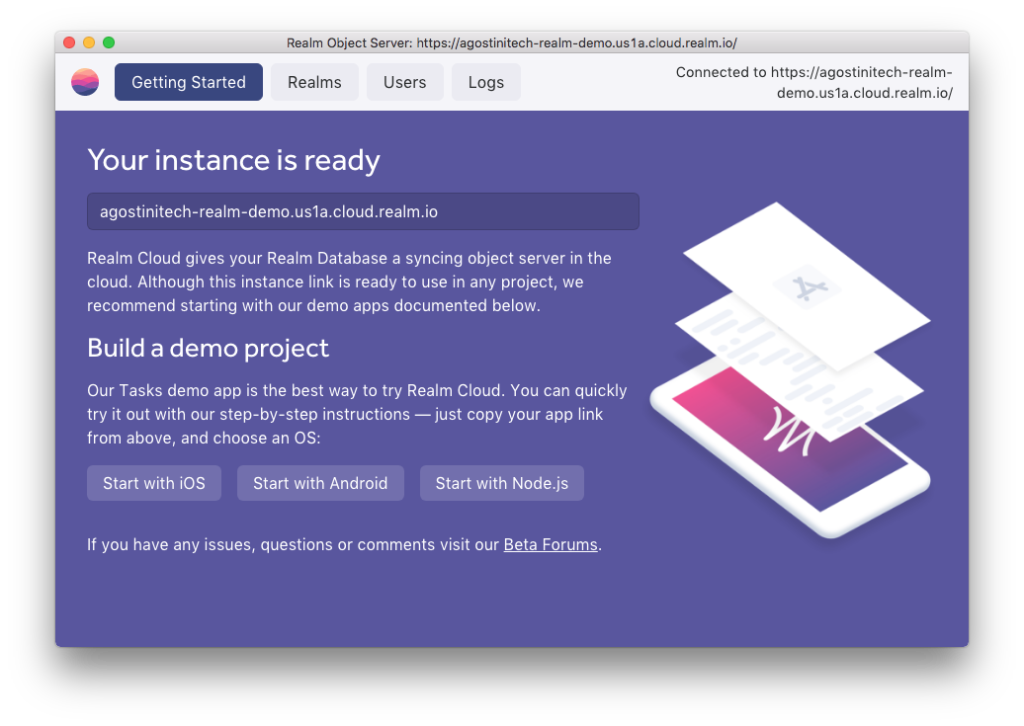
 When you're finished with the instance you'll get your instance link, which is what all this setup was about:
 In you installed realm studio, you can click on the link at the top right and open your instance in the app. If not, better install it :)
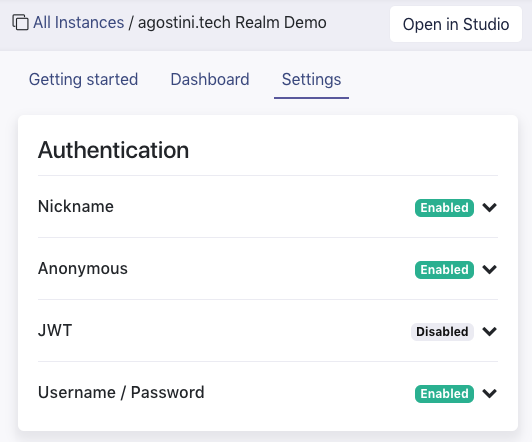
Just a note for later. When you're actually finished developing your app, and ready to deploy, go to the security tab and disable the 'Nickname' and 'Anonymous' authentication options:
In you installed realm studio, you can click on the link at the top right and open your instance in the app. If not, better install it :)
Just a note for later. When you're actually finished developing your app, and ready to deploy, go to the security tab and disable the 'Nickname' and 'Anonymous' authentication options:
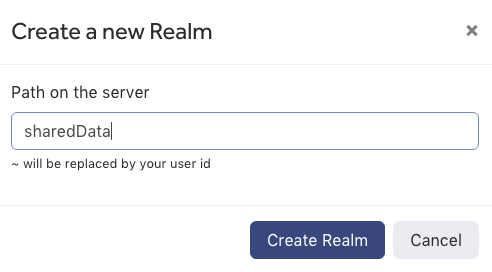
 First off, create a new realm:
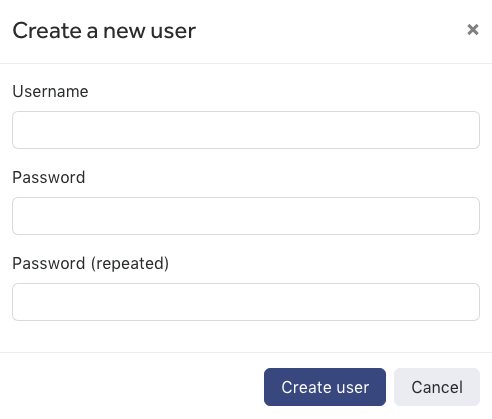
 You could also use the default realm that's already created for you. Once you have your realm, create a user for your app:
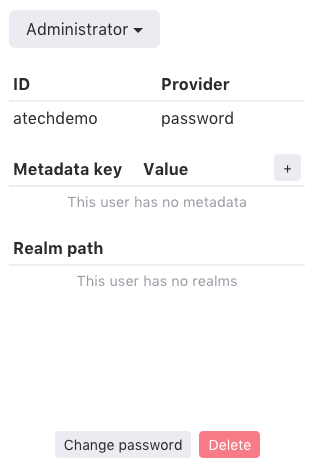
 You should have a brand new admin user:
 Now you're finally ready to start some coding.
Synced Realm
A synced realm is just another realm. And you use it like you would use any other realm in your app. It's hosted in the cloud managed by realm. They also offer a self hosting solution, but that's not a topic of this article. You can have many users of your app, and they can each have their private realms. Or, then can all access one shared realm and share the data between them. In this article we'll focus on creating a shared realm, and we'll see how two instances of our app can share data.Cloud Setup
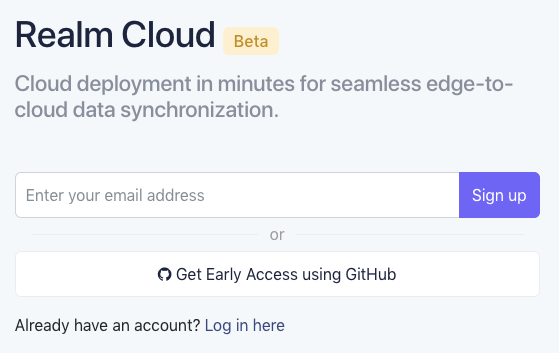
Before doing anything, you'll need an account on realm cloud, so let's quickly create one. Go to realm cloud and sign up for an account:
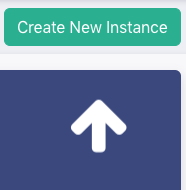
Sign-up is pretty straightforward. When you're finished with it, you'll need to create a new 'instance' (one instance can have many realms). So go ahead and click the big green button:
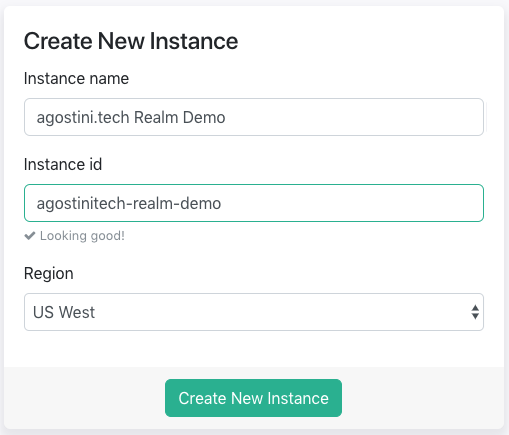
Pick a nice name for your instance, there's nothing more you can do on this screen (the region selector has only one region at the time of writing this article):
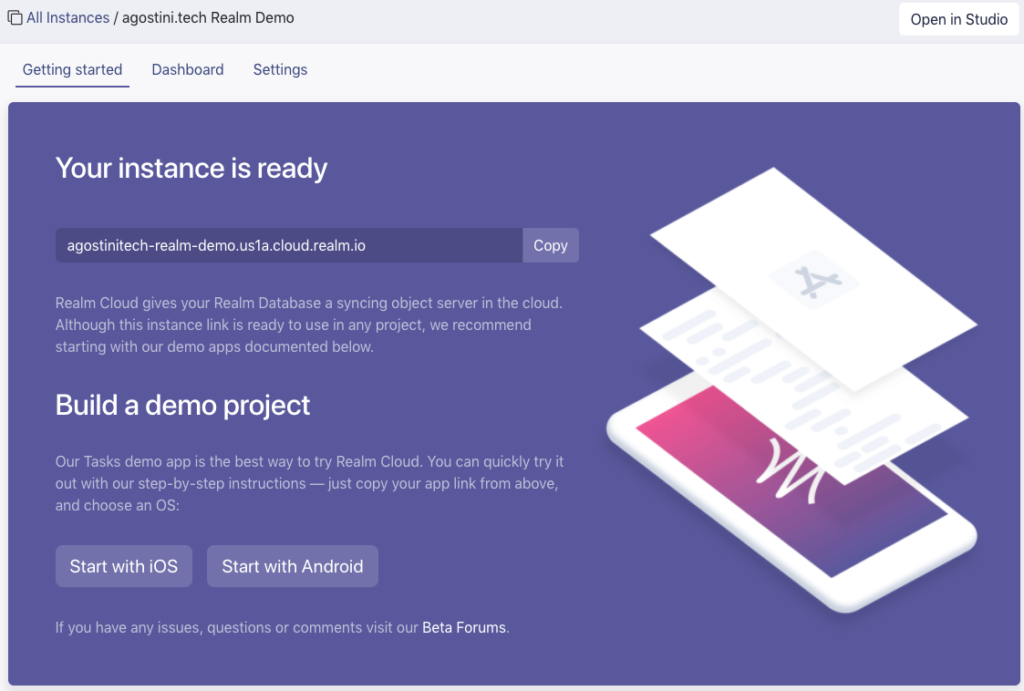
When you're finished with the instance you'll get your instance link, which is what all this setup was about:
In you installed realm studio, you can click on the link at the top right and open your instance in the app. If not, better install it :)
Just a note for later. When you're actually finished developing your app, and ready to deploy, go to the security tab and disable the 'Nickname' and 'Anonymous' authentication options:
Realm Studio
You can manage your whole instance from realm studio, but for now, you'll only have to do two things. After you login with your account, you'll see the simple interface:
First off, create a new realm:
You could also use the default realm that's already created for you. Once you have your realm, create a user for your app:
You should have a brand new admin user:
Now you're finally ready to start some coding.
The Code
Last week we talked about using Realm Database. We'll be using that same example this week. We'll simply convert that existing app to use synced realms to share the database between all instances of the app. I assume you have Realm pod installed, if you don't just check out the article on using Realm Database. We've actually done most of the legwork up until now. The only thing we'll do in the code is create an extension. I assume your app will use only one user to log into the Realm Cloud, so I've created a small utility extension for it:import Foundation
import RealmSwift
fileprivate struct Constants {
fileprivate static let authServer = URL(string: "https://agostinitech-realm-demo.us1a.cloud.realm.io")!
fileprivate static let realmServer = URL(string: "realms://agostinitech-realm-demo.us1a.cloud.realm.io/sharedData")!
fileprivate static let syncCredentials = SyncCredentials.usernamePassword(username: "atechdemo", password: "demo1234")
}
extension Realm {
static func AT_remoteRealm(callback: @escaping (Realm?, Swift.Error?) -> Void) {
SyncUser.logIn(with: Constants.syncCredentials, server: Constants.authServer) { (remoteUser, error) in
if let user = remoteUser {
Realm.Configuration.defaultConfiguration.syncConfiguration = SyncConfiguration(user: user, realmURL: Constants.realmServer)
Realm.asyncOpen(callback: callback)
} else {
callback(nil, error)
}
}
}
}
This is actually the whole class. You can see at the top you have your authentication URL. You can also see the realm URL. Please note the custom protocol the realm is using here. It would be easy to assume that realm is using the standard https, but the guys developed their own custom protocol. The only thing the extension is doing is logging the user in and opening a realm. This is just a bunch of code you wold have scattered across your app every time you wanted to open a realm. So, to save yourself from duplicating around, an extension like this might be useful.
One small detail is worth mentioning. If you anticipate that your realm will be quite large, you can create what's called a partial sync realm. SyncConfiguration initialiser will take it as a parameter. Partial sync means exactly that. Your realm will be partially synced. Realm is smart enough to figure out what data you actually need (based on the queries you use, mostly), and it will sync only that data.
Using a synced realm is almost identical to using the local realm. The only real difference is that opening this realm is asynchronous:
Realm.AT_remoteRealm(callback: { (remoteRealm, error) in
    if let realm = remoteRealm {
        try! realm.write {
            let movie = self.getRandomMovie()
            realm.add(movie)
         }
    } else {
        print("Error opening remote realm: \(error?.localizedDescription)")
    }
})
And your queries work pretty much the same:
Realm.AT_remoteRealm { (remoteRealm, error) in

    self.realm = remoteRealm

    self.movies = self.realm?.objects(Movie.self).sorted(byKeyPath: "year", ascending: false)

    self.token = self.movies?.observe({ (changes) in
        switch changes {
        case .initial(_):
            self.tableView.reloadData()
        case .update(_, let deletions, let insertions, let modifications):
            self.tableView?.beginUpdates()
            self.tableView?.insertRows(at: insertions.map({ IndexPath(row: $0, section: 0) }),
                                       with: .automatic)
            self.tableView?.deleteRows(at: deletions.map({ IndexPath(row: $0, section: 0)}),
                                       with: .automatic)
            self.tableView?.reloadRows(at: modifications.map({ IndexPath(row: $0, section: 0) }),
                                       with: .automatic)
            self.tableView?.endUpdates()
        case .error(let error):
            print("There has been an error: \(error)")
        }
    })
}
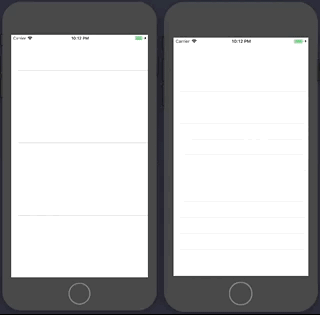
This code will pretty much work exactly as the version with the local realm. If we run this code on two different devices, we can see that one device is creating movies, and both devices are receiving updates. In the gif below, the device on the left is creating objects:
 It's pretty cool. You can do some crazy things with this. Go have some fun :)
It's pretty cool. You can do some crazy things with this. Go have some fun :)