 If you want to share code between your projects but don’t want to share it with the public you have an option to create a private cocoapod. A while back I wrote about creating a cocoapod, this article won’t cover that topic. If you want to learn more about creating a pod, go ahead and take a look at that article. In this short article we’ll see how to create a private pod that won’t be listed in the public specs repo.
Private Specs
Cocoapods is storing information about its pods in a ‘Specs’ repo. This is a simple repository full of small files describing the location and version (among other things) of your pod. When you do your pod install cocoapods will search through this repo to find the podspec file for your pod. From the podspec file cocoapods will get the pod repository url, and download the source code to your machine.
Beautiful thing about cocoapods is that we can create our own ‘Specs’ repo, which we can keep private. Naturally, you can use the private and public specs repos in your project.
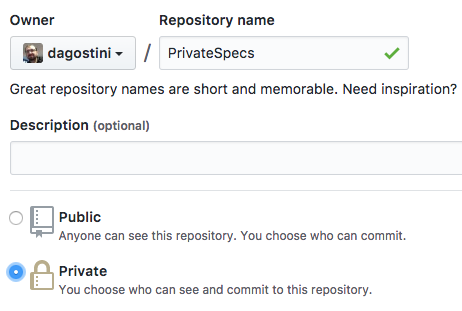
Creating your private specs is quite simple. I’ll be using github to demo this. You create a private repository, give it any name you like:

Next, you need to add the url to this repo to your local cocoapods installation. So cocoapods knows where to push your podspec files:
pod repo add PrivateSpecs https://github.com/dagostini/PrivateSpecs.git
You’ll be using the name of the repo, ‘PrivateSpecs’ in my example, to push the podspecs to the repo. You can name it any way you like, I simply named it the same as the repo, so I don’t have to remember the local name 🙂
You’re pretty much all set. Let’s try to push our first private pod.
Private Pod
Last week we talked about In-App purchases and we created a wrapper class for StoreKit. You can use this class to create your private pod. We won’t cover creating pods in this article. You can check out this article on creating cocoapods, and come back here when you’re finished 🙂 Do all the steps but the final one where you push the podspec to the specs repo. You’ll be pushing that podspec here.
All you have to do is push your podspec file to your private specs repo, like so:
pod repo push PrivateSpecs PurchasesController.podspec
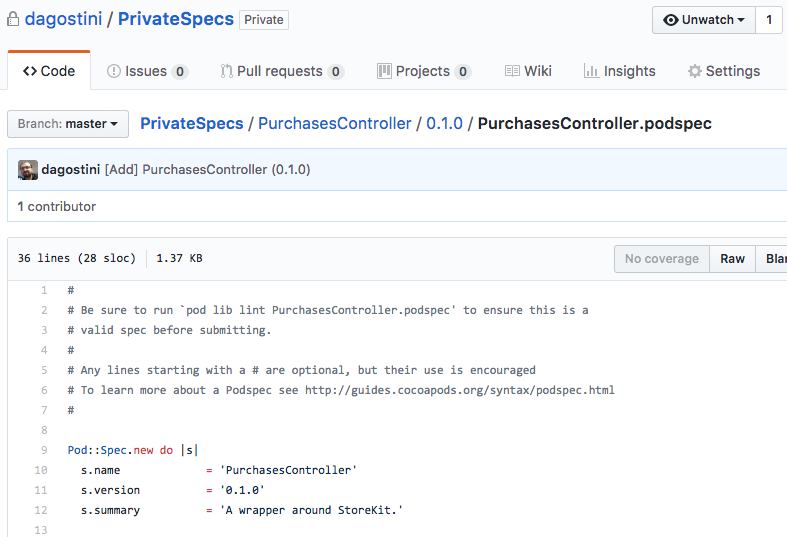
If everything is ok with your podspec and it passes validation, it will be uploaded to your private specs repo, you should see something like this in your ‘PrivateSpecs’ repo:

There you go, you have your private pod. Pretty simple, right 🙂
Using The Private Pod
When you create your podfile and add pods to it, cocoapods will automatically look into its main specs repo, and it has no idea about your private specs repo. So, obviously, you need to tell it where to look for private pods. When you create a podfile you will have to define a source path to your private specs repo. An example podfile with a custom path to the specs repo might look something like this:
source 'https://github.com/dagostini/PrivateSpecs'
source 'https://github.com/CocoaPods/Specs.git'

target 'Test_PrivateRepo' do
  use_frameworks!

  pod 'PurchasesController'

end
If you add a custom source, you will have to add the source to the main specs repo manually. You can have as many sources as you want. You can have multiple private specs repositories, or even multiple public specs repositories. I usually use private and public specs in the same project, if you want to do the same you’ll have to provide the two sources like it’s shown in the code above.
Conclusion
I usually encourage people to share their libraries when ever they can. But sometimes, you simply can’t do that. If you still need to share libraries between your projects, just don’t want to share them with the world, you can easily do it with private pods.
This was a short and sweet article, and I hope it helped you a bit.
Have a nice day 🙂
Dejan.
