We all hate entering passwords on our devices, you have to remember the right password, type it in… It’s a drag. Well, since iPhone 5S we’ve got a fingerprint sensor, also called Touch ID. We would normally use it to unlock the device and/or to verify your account just before you purchase something from the AppStore (that’s what I’ve been using it anyway). But that’s not really tapping into the potential of the hardware that we have at our disposal.
Using Local Authentication framework, we have access to the biometric sensor, and we can use it in our apps. And it’s really easy to do so, but we’ll get to that later. So we have this great new piece of hardware that we can utilise, and allow our users to log into the apps we make really easily, and fast. And also provide an extra layer of security for the app. Because it’s going to be so convenient for the user to log in, we can actually lock out the app every time it goes into the background, and just authenticate the user when he brings the app into foreground.
The way Local Authentication works is, it will give you a boolean telling you if the user is authenticated or not. You won’t get any other information other than a boolean variable. So you won’t be getting a user name, email, or other personal info, just a simple true/false. But, that’s fine too. In the following app example we’ll see how we can use Touch ID for our custom user.
The App
I’ll start with an overview of the app with a couple of screenshots, so you’ll know, on a high level, what’s my idea behind the app. Then we’ll dive into the code.
The app is a simple app created from a single page project template in XCode. It has a login screen, and a simple view controller that displays which user has been logged in. This is just a demo app, you should be able to reuse the login controller, but you’ll have to create your own view controllers (it’s to be expected, right 🙂 ).
So, the first screen is obviously the login screen:

Everything is pretty much self-explanatory, except the ‘Reset Owner’ button. We’ll use this for our debugging purposes, to delete the persisted owner id, and, in effect, reset the app.
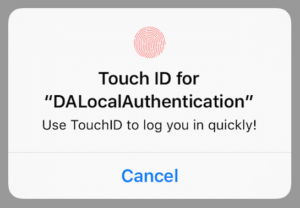
When you first login, you’re presented with a Touch ID alert view:

Now if you use Touch ID on your home button, the user you used to login will be associated with the owner of the device, and the next time you start the app you can use Touch ID to login that owner.
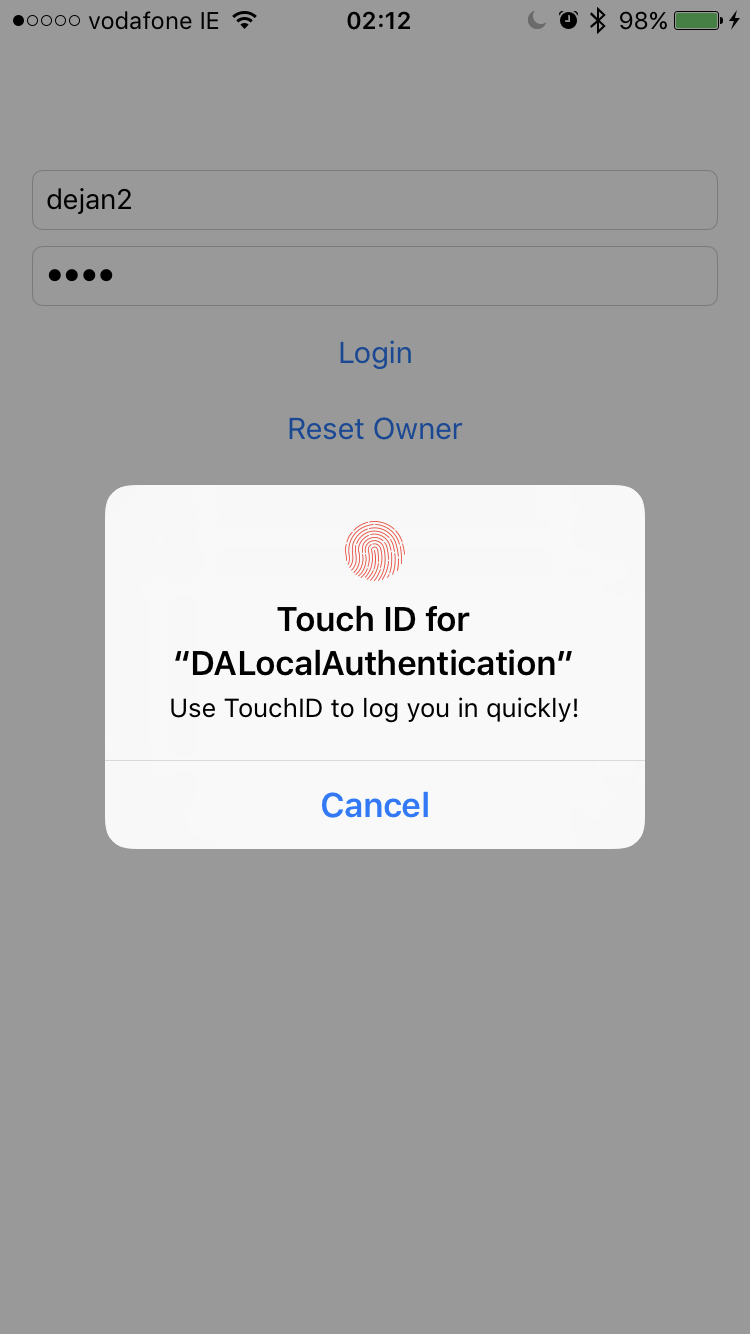
Now when we start the app the second time we’re presented with a Touch ID verification alert:

In the background we can see that a different user ID is used in the text field for the manual login, but when we authenticate the user we’ll login the owner (which has an id of ‘dejan’). If the authentication is successful we’re presented with the next screen:

This is a screen we’ll be using to confirm the user that was logged in, in our case the device owner.
So, that’s the login flow in the app. Nothing fancy, we’re just focusing around the Touch ID. So let’s see some code.
The Code
I assume you’re familiar with iOS development, so I’ll just jump right in. In our ViewController we have a loginController property of ‘LoginProtocol’ type, this will be our login controller, and we’ll keep the UI as lean as possible. So here’s the complete code for the View Controller:
import UIKit

private struct Constants {
    static let UserVCID = "UserViewController"
}

class ViewController: UIViewController {

    var loginController: LoginProtocol = LoginController()

    @IBOutlet weak var userNameTextField: UITextField!
    @IBOutlet weak var passwordTextField: UITextField!

    override func viewDidAppear(_ animated: Bool) {
        super.viewDidAppear(animated)

        // Checking TouchID here... Just for demo!
        loginController.loginDeviceOwner { (ownerID) in
            print("didLoginOwner: ", ownerID ?? "NO OWNER")
            if let owner = ownerID {
                self.presentUserScreen(user: owner)
            } else {
                print("Could not authenticate owner")
            }
        }
    }

    @IBAction func loginAction() {
        if let user = userNameTextField.text, let pass = passwordTextField.text {
            loginController.login(userName: user, password: pass, onLogin: { (success) in
                print("didLogin: ", success)
                if success == true {
                    self.presentUserScreen(user: user)
                } else {
                    print("Login failed")
                }
            })
        }
    }

    @IBAction func resetOwnerAction() {
        loginController.resetOwner()
    }

    private func presentUserScreen(user: String) {
        if let userVC = self.storyboard?.instantiateViewController(withIdentifier: Constants.UserVCID) as? UserViewController {
            userVC.currentUser = user
            self.present(userVC, animated: true, completion: nil)
        }
    }
}
In the viewDidAppear we’re trying to login the device owner. If the login was successful, we’ll get the owner ID, and we present the user view controller, if not, we’ll get a nil. Obviously, you probably won’t keep this code here in your implementation, we’re keeping it here just for the demo purposes, so we can see everything working.
Login action is fetching the username and password for the text fields, and passes them to the loginController. And in the completion handler it will present the user view controller, or print a message in the console. Excuse the print statements, my goal here is to focus on Touch ID as much as possible.
Reset owner action will delete linked owner id, and in effect reset the app. We use this for debugging purposes, so we don’t have to reinstall the app every time we want to see the initial Touch ID alert. The last method will simply present the user screen modally. That screen is trivial, so I won’t bother with the code here.
Login Controller
Login controller is the heart of this little example. It implements all the methods we’re using from our view controllers. The main methods are ‘loginDeviceOwner’, and ‘login’.
Let’s see them here:
    func loginDeviceOwner(ownerID: @escaping (String?) -> ()) {

        guard getOwnerID() != nil else {
            ownerID(nil)
            return
        }

        authenticateDeviceOwner { (success) in
            if success == true {
                DispatchQueue.main.async {
                    ownerID(self.getOwnerID())
                }
            } else {
                DispatchQueue.main.async {
                    ownerID(nil)
                }
            }
        }
    }

    func login(userName: String, password: String, onLogin: (Bool) -> ()) {

        // Hardcoded password check... Just for demo!
        if password == "1234" {

            if getOwnerID() == nil {
                authenticateDeviceOwner(onAuthenticate: { (success) in
                    if success == true {
                        self.saveOwnerID(ownerID: userName)
                    }
                })
            }
            onLogin(true)
        } else {
            onLogin(false)
        }
    }
In the login method we hardcoded the password check, just for demo. For you this would probably be a network request to authenticate a user. We then check if the owner ID is nil, meaning we never authenticated the owner, and we authenticate the owner if it is nil. If the authentication is successful we save the owner ID to user defaults.
Login device owner method will check if we have an owner ID, if we do, we proceed with the authentication, and call the block with the owner ID if the authentication was a success. Our ‘authenticateDeviceOwner’ will return a block that will be called on a private queue, so we must be careful here and execute our callback on the main thread, because we’ll be updating the UI in this callback.
Obviously the ‘authenticateDeviceOwner’ method is doing all the work related with Touch ID authentication, and you would think it’s a complex one, but it’s quite simple, really. Check it out:
    private func authenticateDeviceOwner(onAuthenticate: @escaping (Bool) -> ()) {

        let context = LAContext()
        let reason = LoginConstants.TouchIDReason
        var error: NSError? = nil

        if #available(iOS 8.0, *) {
            if context.canEvaluatePolicy(LAPolicy.deviceOwnerAuthenticationWithBiometrics, error: &error) {
                context.evaluatePolicy(LAPolicy.deviceOwnerAuthenticationWithBiometrics, localizedReason: reason, reply: { (success, error) in
                    onAuthenticate(success)
                })
            } else {
                onAuthenticate(false)
            }
        } else {
            onAuthenticate(false)
        }
    }
We have to import the LocalAuthentication into the class first. We create a context for the authentication, check the iOS version we’re running against, and check if Touch ID is available. context.evaluatePolicy() is the method doing all the work, we just provide it with an enum for the authentication type we’re interested in, and a localised reason that will be displayed to the user in the Touch ID dialog when authenticating. We’ll receive a bool and an error pointer, of course, the bool will tell us if the user was successfully authenticated or not.
From iOS 9 you can use ‘deviceOwnerAuthentication’ policy, which will fallback to device passcode (‘deviceOwnerAuthenticationWithBiometrics’ will fallback to the user password). After a failed attempt to authenticate you will see a new button in the dialog, Enter password/passcode button.
That’s it… It’s really simple, but really cool, and very useful for our users. I hope you guys will use it in your apps, and I really hope this little tutorial helped you learn what you need in order to use it. You can find the complete example on my GitHub.
One last thing… Have a nice day 🙂
Dejan.

Pingback: Using Touch ID on iOS – Home