Using HealthKit
Dejan Agostini
HealthKit is Apple's framework for managing health data. In this article we'll go over the basics of using HealthKit and show you how you can read and write data to the health store. We'll create a simple app that will read some profile data of the user, energy and water consumptions. Our app will also write water consumption to the health store.
 After that, go to your target capabilities tab and enable HealthKit:
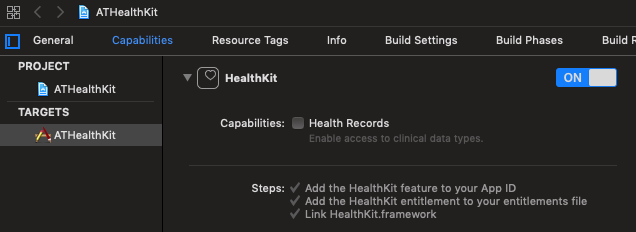 If everything went well, you should see the three check marks in the 'Steps' section. We won't be using the health records, so leave it unchecked.
Add two values to your 'Info.plist' file. One is the description that will be displayed to the user when requesting to read the data. The other one is the description for writing the data:
If everything went well, you should see the three check marks in the 'Steps' section. We won't be using the health records, so leave it unchecked.
Add two values to your 'Info.plist' file. One is the description that will be displayed to the user when requesting to read the data. The other one is the description for writing the data:
 Time for some code...
Some Basics
All apps can read and write data to the health store. Your users can see all the data your app (and all other apps) wrote in the health store by using the Health app on their iOS device. If you have an Apple Watch there's a good chance that you're very familiar with the Health and Activity apps. Because it's dealing with some sensitive data, HealthKit is one of the most restrictive Apple frameworks I've seen. You'll need to have a developer account in order to use it. Apart from specifying the usage description in your plist, you will also need to request access for every data type you plan on reading and writing. We'll cover this in our example. Reading and writing data to the health store is pretty straight forward. If you used CoreData you'll feel pretty comfortable with it (when using predicates). HealthKit stores several different types of data, from the simplest characteristic type that's used to store static data (like your date of birth), to more complex types like correlation type that's used to store nutrition information. In this article we'll cover the most common types, the characteristic type and the quantity type. The goal is to get you started with HealthKit and once you understand the basics, you'll easily master more specialized types yourself.Project Setup
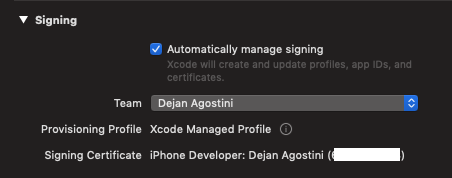
You will need a developer account in order to use HealthKit, so make sure you have your development team selected, and let Xcode manage your signing automatically:
After that, go to your target capabilities tab and enable HealthKit:
If everything went well, you should see the three check marks in the 'Steps' section. We won't be using the health records, so leave it unchecked.
Add two values to your 'Info.plist' file. One is the description that will be displayed to the user when requesting to read the data. The other one is the description for writing the data:
Time for some code...
The Code
Our simple example app will read some characteristics from the health store. It will read the amount of water consumed in the last 24 hours and the amount of active energy. We'll also add a button to write water consumption to the health store.Permissions First
We'll have to ask for permission for every data type that we want to read and we'll need to ask separate permissions for writing the samples. We have our little function that does just that:private func authorize(completion: @escaping (Bool, Error?) -> Void) {
guard HKHealthStore.isHealthDataAvailable() else {
completion(false, ATError.notAvailable)
return
}
guard
let dob = HKObjectType.characteristicType(forIdentifier: .dateOfBirth),
let sex = HKObjectType.characteristicType(forIdentifier: .biologicalSex),
let energy = HKObjectType.quantityType(forIdentifier: .activeEnergyBurned),
let water = HKObjectType.quantityType(forIdentifier: .dietaryWater) else {
completion(false, ATError.missingType)
return
}
let writing: Set<HKSampleType> = [water]
let reading: Set<HKObjectType> = [dob, sex, energy, water]
HKHealthStore().requestAuthorization(toShare: writing, read: reading, completion: completion)
}
In the guard statement we're checking if our types are available and then we assign them to local variables. As you can se from the code, we'll be writing the water consumption and reading the date of birth, sex, active energy and water. The function will then request the authorization from the user:
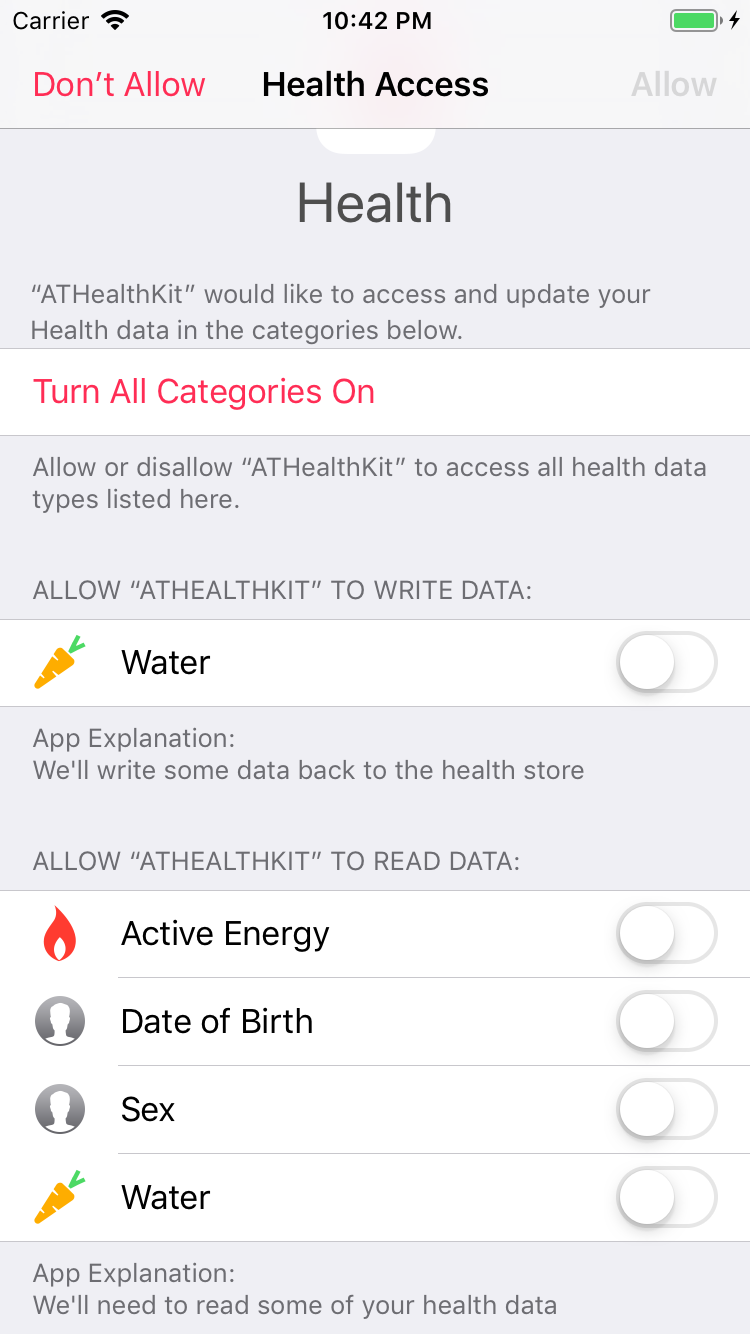 You can see the explanations from the plist on the screen and the requested read/write types (yes that's a carrot :) ). The user has an option to allow access to only certain types, or to deny access altogether. Go ahead and turn all the categories on.
You can see the explanations from the plist on the screen and the requested read/write types (yes that's a carrot :) ). The user has an option to allow access to only certain types, or to deny access altogether. Go ahead and turn all the categories on.
Reading Characteristics
Characteristics are the static data in the health store. It's the data that doesn't change that often, like your date of birth and your sex. Reading it is pretty straightforward:private func readCharacteristicsData() {
let store = HKHealthStore()
do {
let dobComponents = try store.dateOfBirthComponents()
let sex = try store.biologicalSex().biologicalSex
DispatchQueue.main.async {
self.dobLabel.text = "DOB: \(dobComponents.day!)/\(dobComponents.month!)/\(dobComponents.year!)"
self.sexLabel.text = "Sex: \(sex.rawValue)"
}
} catch {
print("Something went wrong: \(error)")
}
}
As you can see, we're only calling functions on the health store to get the data.
Reading Quantities
Quantities are the data points in health store. In its basic form it's a quantity of a certain type stored with a start time and an end time. As soon as you open the 'Health' app you'll be presented with a list of quantities (active energy, heart rate, steps, exercise minutes...). If you select it, you can see the data plotted on a graph. We'll start by reading the active energy. If you have a fitness tracking device like the Apple Watch, you probably have loads of records in your health store. What we'll do is query the database for the last 24 hours of records and simply add them together:private func readEnergy() {
guard let energyType = HKSampleType.quantityType(forIdentifier: .activeEnergyBurned) else {
print("Sample type not available")
return
}
let last24hPredicate = HKQuery.predicateForSamples(withStart: Date().oneDayAgo, end: Date(), options: .strictEndDate)
let energyQuery = HKSampleQuery(sampleType: energyType,
predicate: last24hPredicate,
limit: HKObjectQueryNoLimit,
sortDescriptors: nil) {
(query, sample, error) in
guard
error == nil,
let quantitySamples = sample as? [HKQuantitySample] else {
print("Something went wrong: \(error)")
return
}
let total = quantitySamples.reduce(0.0) { $0 + $1.quantity.doubleValue(for: HKUnit.kilocalorie()) }
print("Total kcal: \(total)")
DispatchQueue.main.async {
self.energyLabel.text = String(format: "Energy: %.2f", total)
}
}
HKHealthStore().execute(energyQuery)
}
After creating the query predicate, we create the 'HKSampleQuery' object for the desired type (active energy in this case). We're setting the limit to 'HKObjectQueryNoLimit' because we want all the data in the specified period. In the closure we're using the reduce to get the total active energy for the last 24 hours. Notice how we're converting the double value to kilocalories. At the end, we simply update the UI. All that's left is to execute the query.
Reading the water is pretty much the same. We only changed the quantity type and we're converting to millilitres:
private func readWater() {
    guard let waterType = HKSampleType.quantityType(forIdentifier: .dietaryWater) else {
        print("Sample type not available")
        return
    }

    let last24hPredicate = HKQuery.predicateForSamples(withStart: Date().oneDayAgo, end: Date(), options: .strictEndDate)

    let waterQuery = HKSampleQuery(sampleType: waterType,
                                   predicate: last24hPredicate,
                                   limit: HKObjectQueryNoLimit,
                                   sortDescriptors: nil) {
                                    (query, samples, error) in

                                    guard
                                        error == nil,
                                        let quantitySamples = samples as? [HKQuantitySample] else {
                                            print("Something went wrong: \(error)")
                                            return
                                    }

                                    let total = quantitySamples.reduce(0.0) { $0 + $1.quantity.doubleValue(for: HKUnit.literUnit(with: .milli)) }
                                    print("total water: \(total)")
                                    DispatchQueue.main.async {
                                        self.waterLabel.text = String(format: "Water: %.2f", total)
                                    }
    }
    HKHealthStore().execute(waterQuery)
}
Now, let's see how to write some data to the health store.
Writing Quantities
Writing data is a lot simpler, because we don't need the predicates and queries. We just write a sample to the health store:@IBAction func writeWater() {
guard let waterType = HKSampleType.quantityType(forIdentifier: .dietaryWater) else {
print("Sample type not available")
return
}
let waterQuantity = HKQuantity(unit: HKUnit.literUnit(with: .milli), doubleValue: 200.0)
let today = Date()
let waterQuantitySample = HKQuantitySample(type: waterType, quantity: waterQuantity, start: today, end: today)
HKHealthStore().save(waterQuantitySample) { (success, error) in
print("HK write finished - success: \(success); error: \(error)")
self.readWater()
}
}
We created an 'HKQuantity' object with millilitres as the unit and 200.0 as the value. The start and end dates will be the same, in our case it makes little sense to have a start date (how long does it take to drink a glass of water :) ). At the end, we simply called the save function to save the data. And now this data will become available to all the other apps using HealthKit.
Let's test it out...
After granting the permission, tap on the 'Drink Water' button a few times:
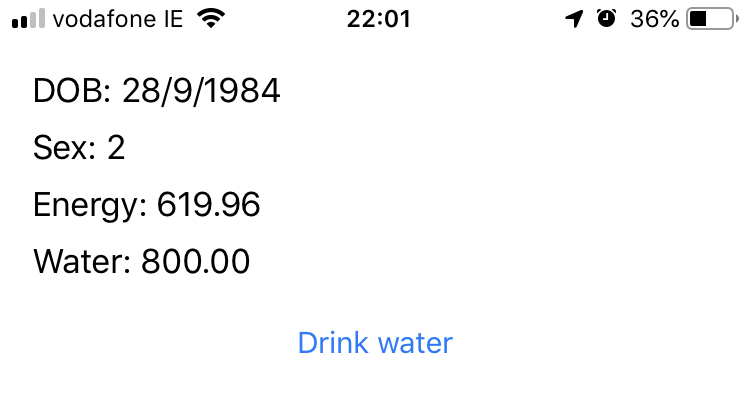 You should see your date of birth and your sex; represented as an enum (I'll leave the conversion to you :) ). Depending on your activity levels, you should see some values for the active energy. You might even see some values for the dietary water consumed.
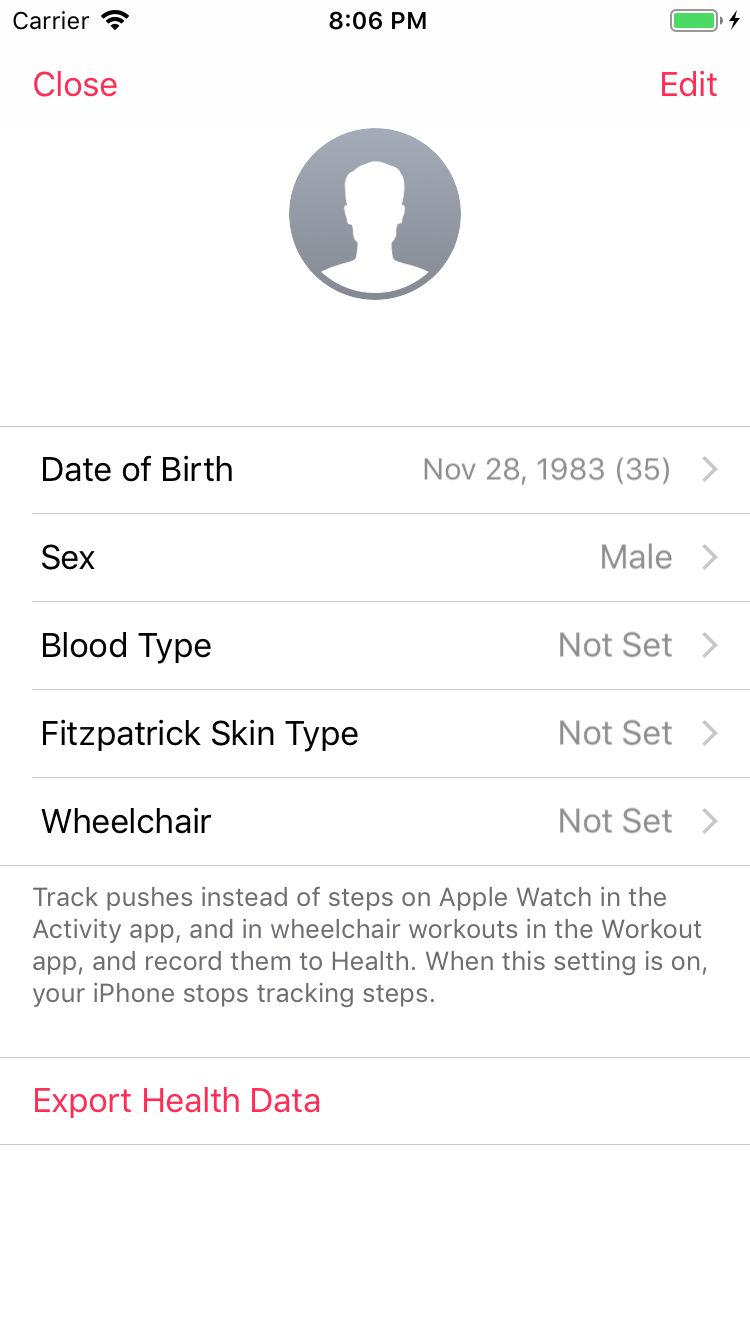
If you're wondering where you set the characteristics... In the initial calendar view, in the upper right corner, you'll see a 'User' icon, just tap it and set your values there:
You should see your date of birth and your sex; represented as an enum (I'll leave the conversion to you :) ). Depending on your activity levels, you should see some values for the active energy. You might even see some values for the dietary water consumed.
If you're wondering where you set the characteristics... In the initial calendar view, in the upper right corner, you'll see a 'User' icon, just tap it and set your values there:
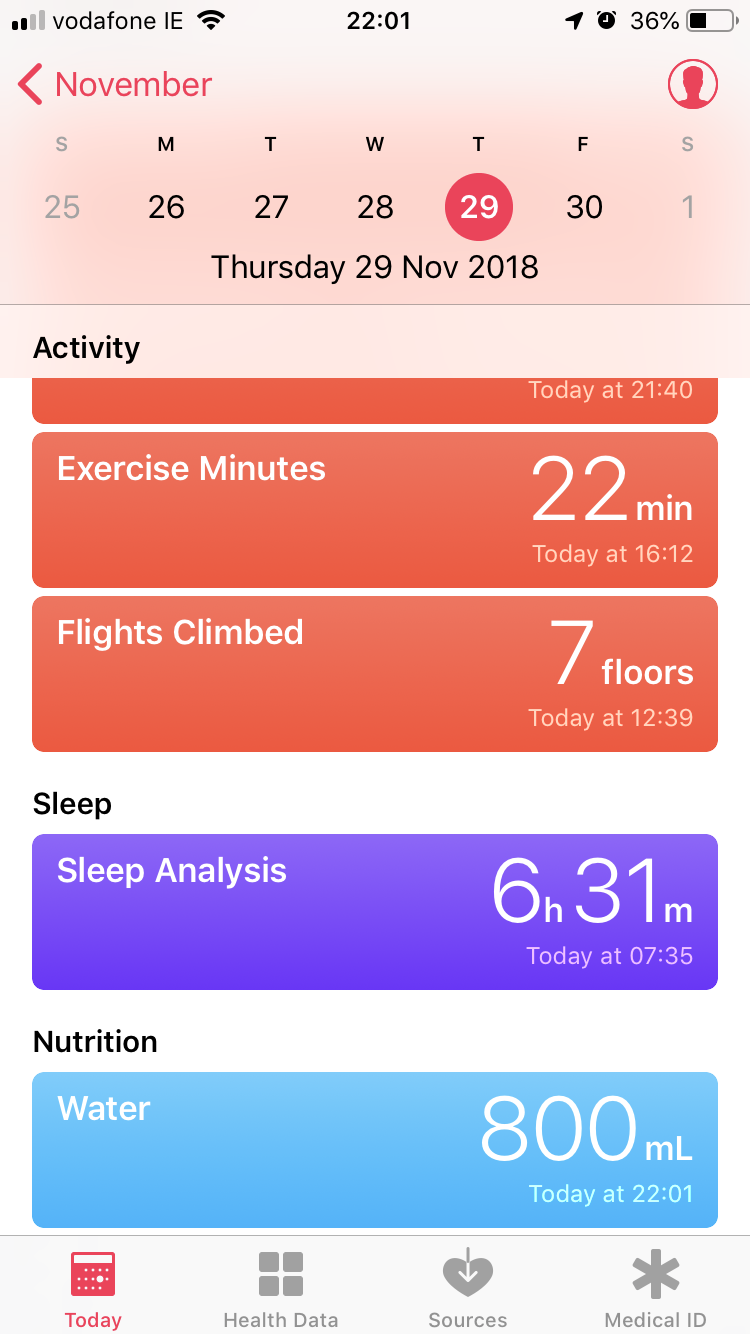
 Now that we have some data in the health store, let's check it out. Open your health app, and you should see your dietary water in the table:
 If you select the water, you will see a nice graph:
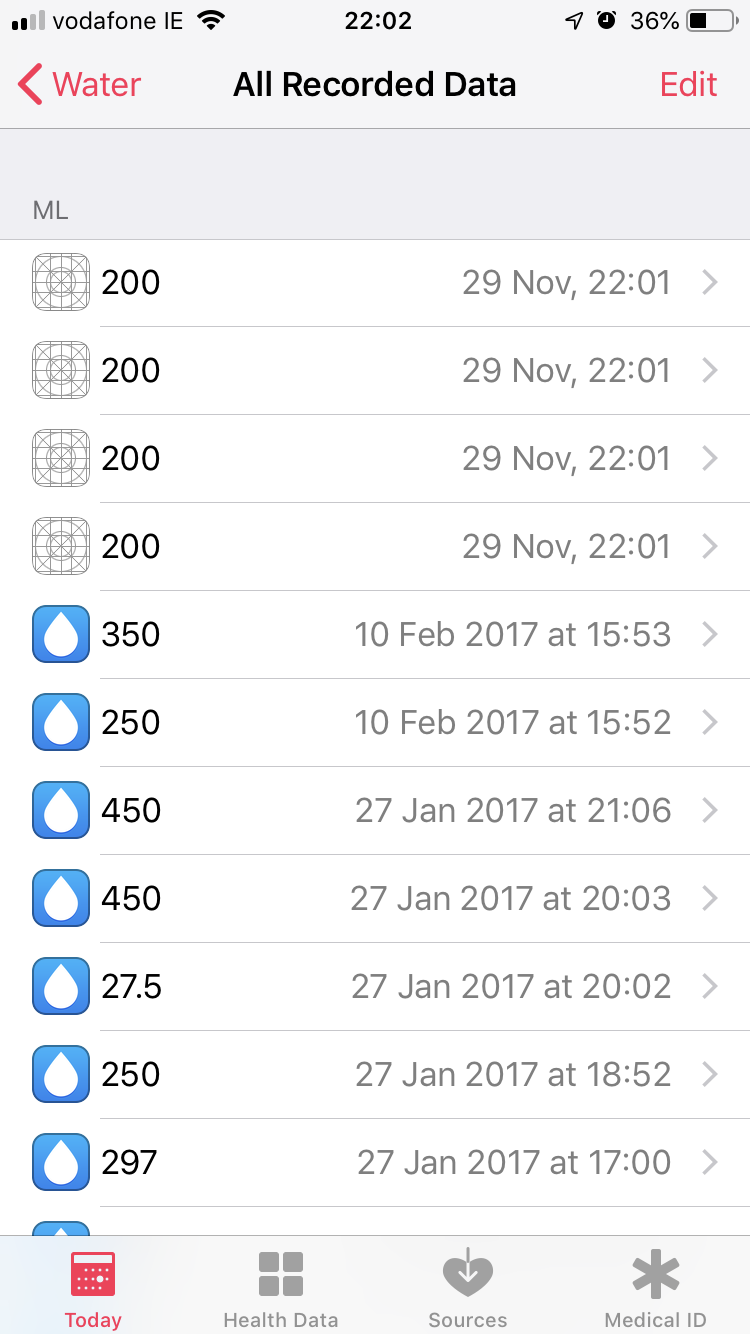
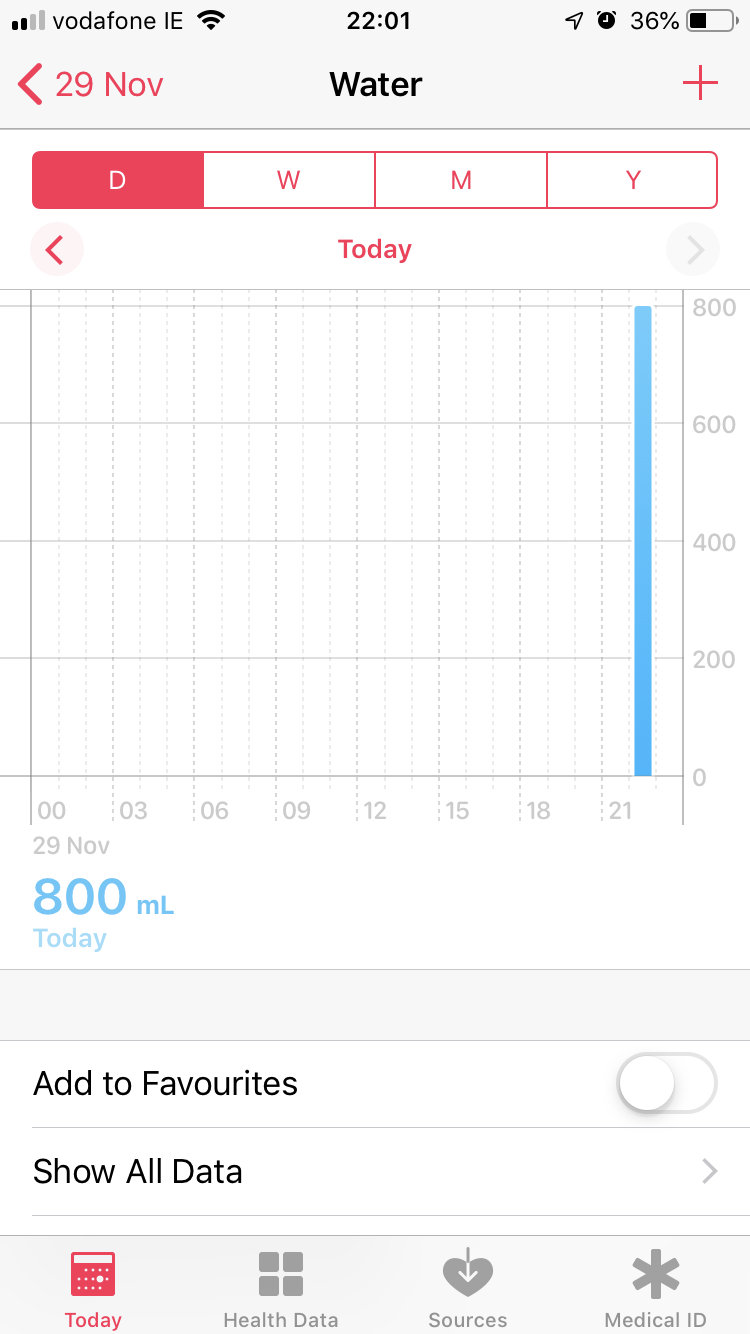 You can check the data we wrote by selecting 'Show All Data' from the table above:
 And that's it. We're reading and writing to health store. Just like we can read the data other apps wrote to the health store, all the other apps can read this data that we just wrote (assuming the user gave them permission). How cool is that :)
Testing It
The interface of the app is pretty simple, just a few labels and a button. If you run the app for the first time, you'll be presented with a screen asking you for permission:
After granting the permission, tap on the 'Drink Water' button a few times:
You should see your date of birth and your sex; represented as an enum (I'll leave the conversion to you :) ). Depending on your activity levels, you should see some values for the active energy. You might even see some values for the dietary water consumed.
If you're wondering where you set the characteristics... In the initial calendar view, in the upper right corner, you'll see a 'User' icon, just tap it and set your values there:
Now that we have some data in the health store, let's check it out. Open your health app, and you should see your dietary water in the table:
If you select the water, you will see a nice graph:
You can check the data we wrote by selecting 'Show All Data' from the table above:
And that's it. We're reading and writing to health store. Just like we can read the data other apps wrote to the health store, all the other apps can read this data that we just wrote (assuming the user gave them permission). How cool is that :)